在这里找到适合自己系统的编译好的安装包,比如我是linux,x86-64位架构,我选择了2.1的旧版本,因为版本太新的话依赖的相关lib你的系统未必是最新的,只是学习用旧一点没事。于是找到下载地址。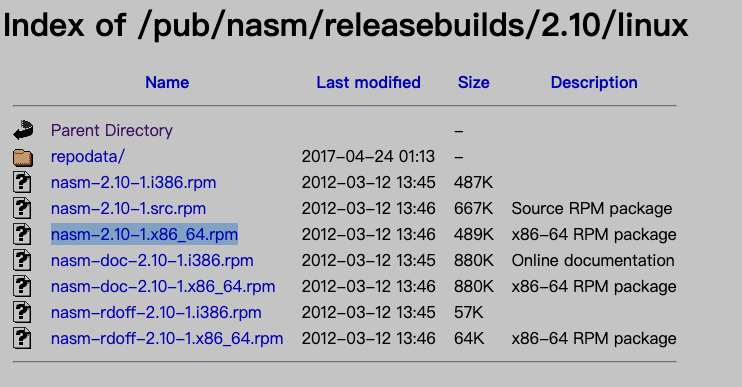
安装就很简单了一句话搞定,不用wget下来直接给网址就行
sudo rpm -i https://www.nasm.us/pub/nasm/releasebuilds/2.10/linux/nasm-2.10-1.x86_64.rpm安装完成后就能执行nasm命令了
$ nasm -v
NASM version 2.10 compiled on Mar 12 2012
用汇编写一个hello world
; hello_world.asm
;
; Author: C.L
; Date: 11-11-2022

global _start                   ; 程序入口

section .text:

_start:
    mov eax, 0x4            ; 使用 write 系统调用函数(x86架构决定的)
    mov ebx, 1              ; 使用标准输出作为fd(write函数的参数1)
    mov ecx, message        ; 使用自定义的字符串作为输出内容
    mov edx, message_length ; 字符串长度,也是传递给write用的
    int 0x80                ; 中断,让CPU去执行eax寄存器指定的syscall(也就是write)

    ; 接着定义返回值,直接返回0即可(返回别的也行,随便)

    mov eax, 0x1
    mov ebx, 0
    int 0x80

section .data
    message: db "Hello World!", 0xA         ; 0xA是换行符
    message_length equ $-message            ; 字符串长度
编译
保存为 hello_world.asm 后编译,编译完成后查看当前文件夹下生成了编译完成的object文件。
如果你的机器是32位的那么把 elf64 改成 elf32 即可。
$ nasm -f elf64 -o hello_world.o hello_world.asm

$ ls
hello_world.asm  hello_world.o
链接
继续执行链接,生成最终的可执行程序。可以看到已经生成了最终的 hello_world 可执行程序。
如果你的机器是32位的那么把 elf_x86_64 改成 elf_i386 即可。
$ ld -m elf_x86_64 -o hello_world hello_world.o

$ ls
hello_world  hello_world.asm  hello_world.o
运行
$ ./hello_world
Hello World!
以上就是如何在linux下安装汇编编译器的方法,希望对看到这里的小伙伴有帮助。